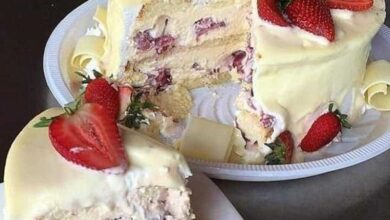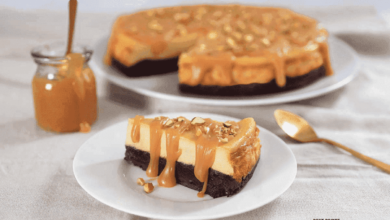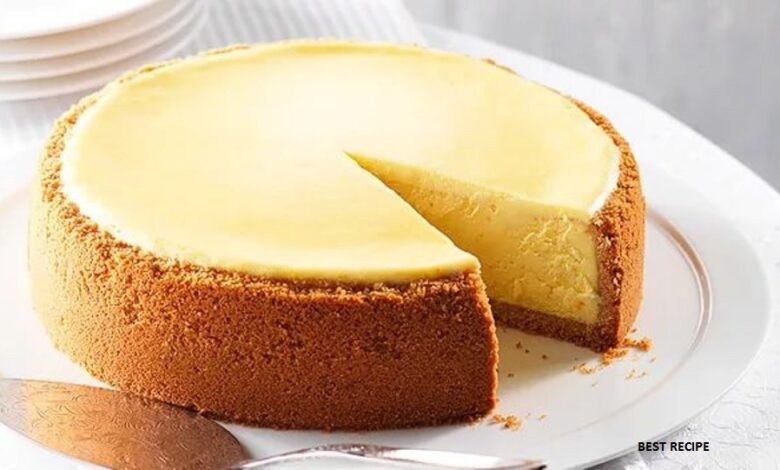
Classic Cheesecake recipe. Turns out unbelievably delicious, and is the most sought after in our home) you can decorate with anything your imagination desires. Starting with toppings and ending with chocolate and fruit.
Ingredients:
Butter 100g
Cookies 300g
Philadelphia 600g
Powdered sugar 150g
Vanillin 1g
3 fried chicken egg
35-40% cream 150 ml
Step 1:
First, take the cream cheese, eggs, and cream out of the refrigerator. All cheesecake products should be the same, room temperature. Preheat the oven to 160 degrees. And start to prepare the cake.
Step 2:
To do this, in a food processor with a knife attachment, grind the butter and cookies into a fine, almost homogeneous crumb. The finished mass will easily clump together. I always use Jubilee cookies.
Step 3:
You can press the cheesecake mixture into the sides and bottom of the cake tins to create a rimmed cheesecake. Or you can line the mold with clingfilm and make just the bottom of the cookie – both are perfectly acceptable. I decided on a rimmed cheesecake. Put the cheesecake in the oven for 10 minutes, then take it out and cool it down.
Step 4:
Prepare the filling. To do this, gently mix cream cheese with a whisk and powdered sugar. Don’t replace the powdered sugar with sugar, this is important in a classic cheesecake recipe! We want as smooth, soft, creamy texture as possible, and the sugar may not dissolve completely. If powdered sugar is hard to buy, grind the right amount of sugar in a coffee grinder.
Now a digression, and a bit about cheeses: The three pillars of foreign cream cheeses are Philadelphia, mascarpone and ricotta. If you were lucky enough to buy the former, congratulations, then you don’t have to read the next paragraph, and you’ll have the most authentic New York cheesecake. If not… I recommend turning to domestic equivalents.
A very good cream cheese is now being made by the company “Karat”. It has the same name – “Cream Cheese”, sold in blue tubs in the manner of their world-famous processed cheese. It has a dense, creamy texture and a salty taste – just what we need. I also recommend checking out the Buco and Horteca cheeses. I’ve seen them in 1.5 liter pails… a little pricey, of course, but enough for 2 cheesecakes 🙂 Many people take “Rama” or “Almette” cream cheeses, which are not quite the same, they are a little more loose and salty, but, in principle, you can use them too.
Step 5:
We add the vanillin. It, too, needs to be ground in a coffee grinder beforehand. It is better, of course, to use vanilla extract – after all, natural flavoring is always more advantageous than artificial. But it can be hard to find. If you have it – add 1 teaspoon instead of vanillin.
One at a time add the eggs and mix gently. Important: In this recipe, you can’t whip the cheesecake filling, just stir it! Put the mixer away. If you whip the cream too intensely, it will fill with air, which will subsequently lead to cracks on the cheesecake surface. So – slowly, carefully, gently and briefly mix.
Step 6:
Add the cream, stir to make a homogeneous mass.
Important: The cream must be heavy. Not less than 33%. Do you see what I have in the picture? That’s what they are even without whipping. Don’t substitute them for less fatty options, because the result will be unpredictable.
Step 7:
Making a water bath. We wrap the baking dish in a double layer of foil (so that no water gets inside) and put it in a wider, deeper container. Pour the filling into the mold.
Step 8:
Pour hot water, about 2-3 cm from the bottom. Important: Do not neglect the water bath. Yes, it’s much easier to bake cheesecake without it and not to bother, but believe me, only a water bath guarantees that the cheesecake will turn out without cracks, will not fall off, will not burn and will come out perfect. We put our design in the oven for 1 hour and 10 minutes and bake at 160 degrees.
Step 9:
Don’t bake the cheesecake any longer! It’s not a muffin, it shouldn’t be dry. If the middle is a little shaky, that’s perfectly normal for a classic recipe. But don’t rush to take it out of the oven either, lest you get sneaky cracks again.
Turn off the oven, ajar the door, and leave the cheesecake inside for an hour. I usually wait for the oven to cool completely before taking the product out.
Take the cheesecake mold out of the container of water and remove the foil. Do not take the cheesecake out of the mold immediately after baking! It needs to spend at least 4 hours in the fridge. So, we put it in the fridge and wait. After that, gently run a knife along the walls of the mold, remove the sides, take out our cake and enjoy.